Main menu
You are here
ownCloud installation
DDKits ownCloud installation
1- Make sure DDKits software is installed
2- Start your environment installation
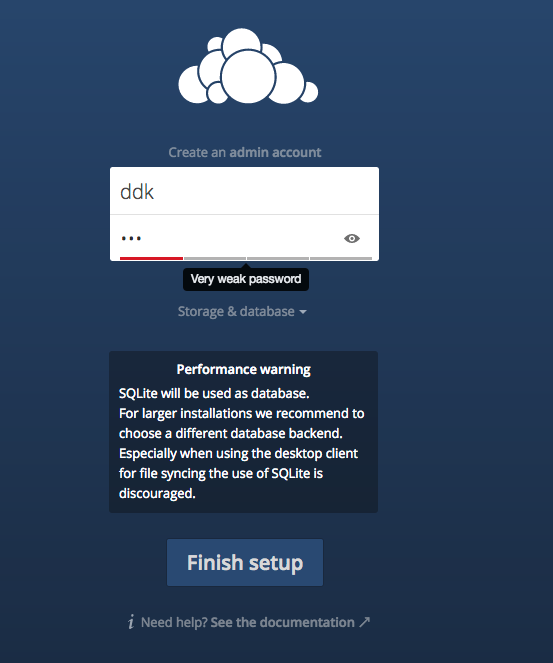
3- Fill all information needed as the images below
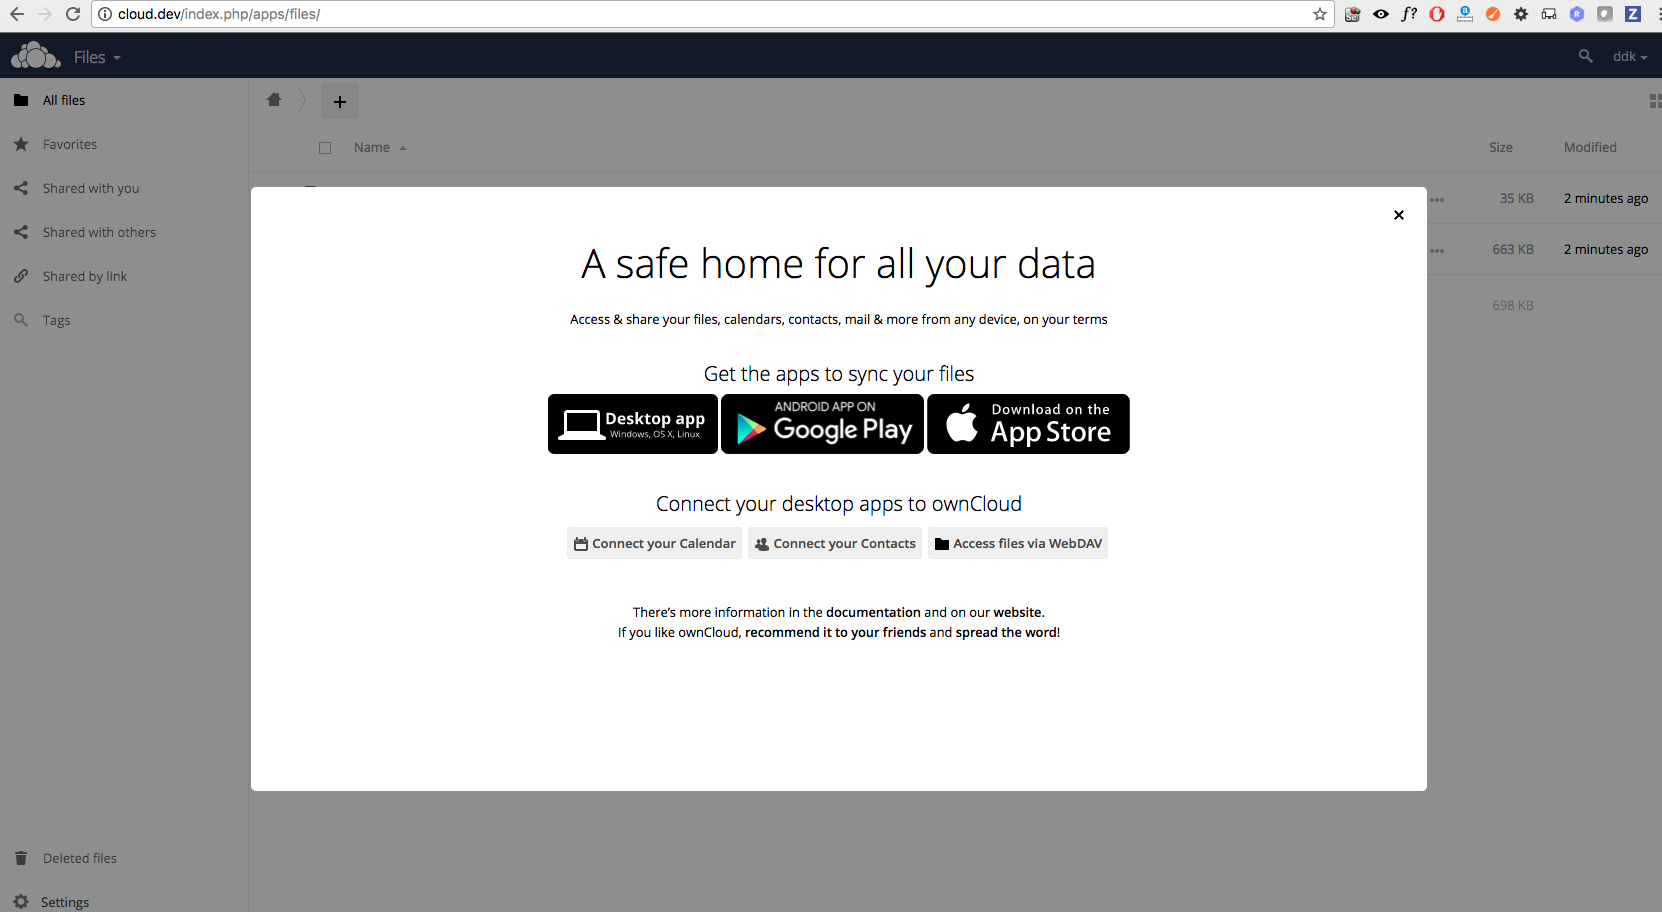
4- Open any browser and try to opend the domain that you picked for your environment (our example here we picked cloud.dev)
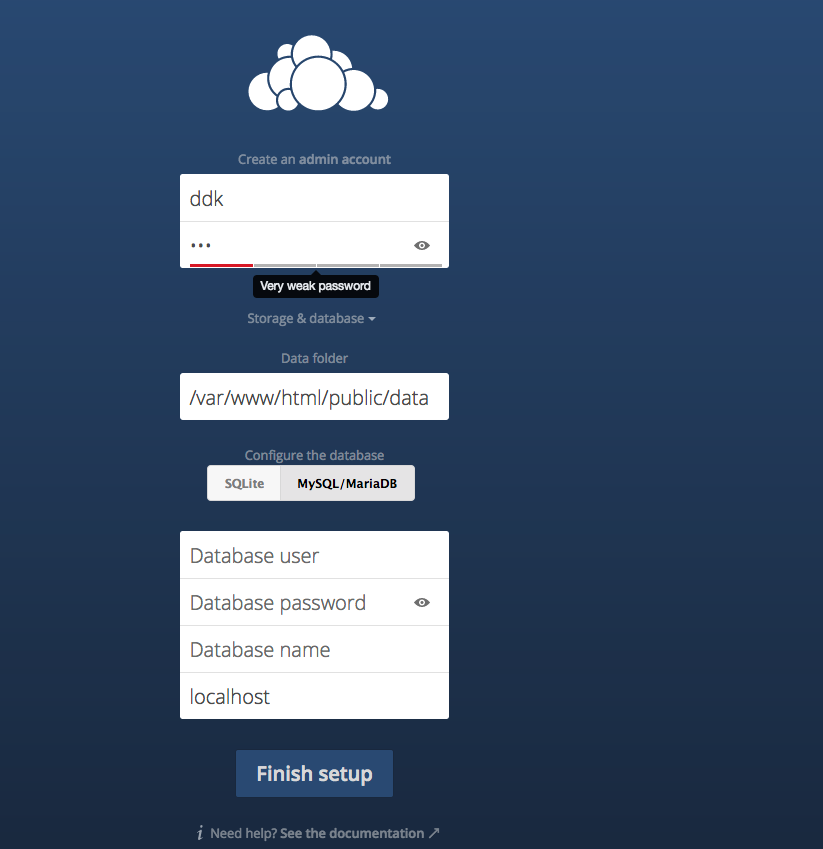
5- Click on Storage & database dropdown button, and change Configuration the database from SQL to MySql/MariaDB:
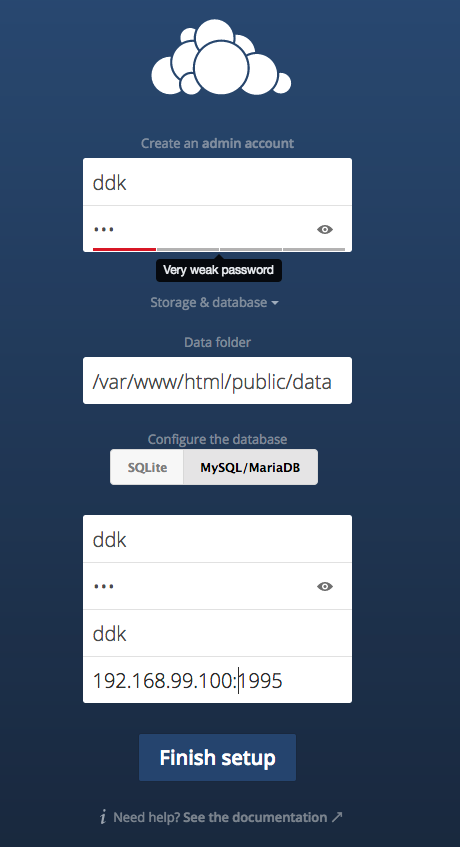
6- Fill all needed MySQL information, plus make sure to write your ddkits ip plus the port
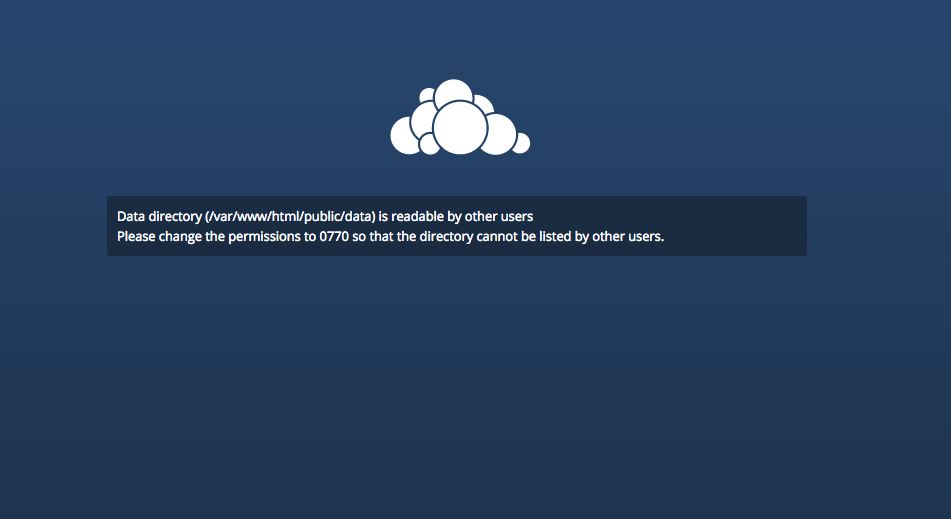
7- after finish the installation process your ownCloud will ask you to change your ../public/data folder permissions.
7.1- in terminal go to your DDKits installation folder and use the command below:
chmod -R 0770 cloud-deploy/public/data
8- Refresh your browser page
**- To get access into your ownCloud Server /bin/bash:
ddkc-DOMAIN
**- Run the DDKits permissions fixer:
ddkc-DOMAIN-fix
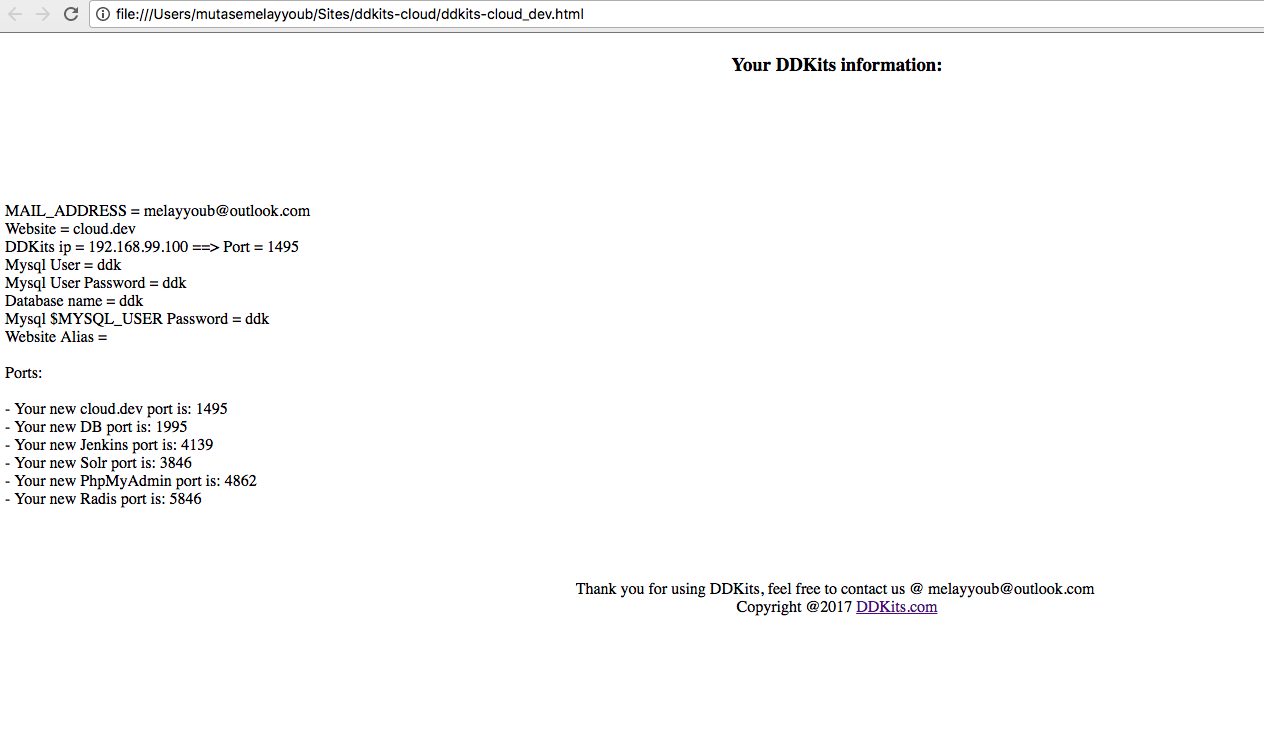
**- (in case of any error in input, go to the DDKits installation folder and open ddkits-DOMAIN.html file  this file will save all information been filled within the installation process with all important information)
Cloud home directory :
